

You've definitely seen them in the rack. Those bars with odd shapes and handles. They’re not just for elite power lifters. They’re extremely practical and surprisingly user-friendly tools designed to solve common problems: joint pain, plateaus, and inefficient movement.
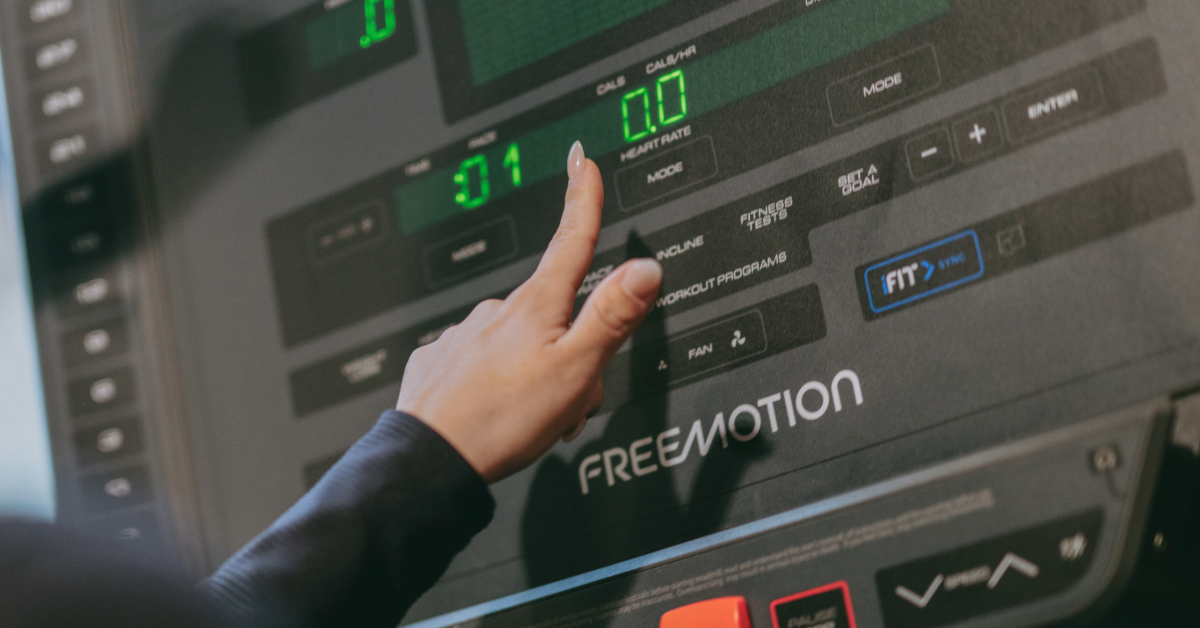
We know you value your time and results, so here’s our quick guide for how to integrate these bars into your training immediately.
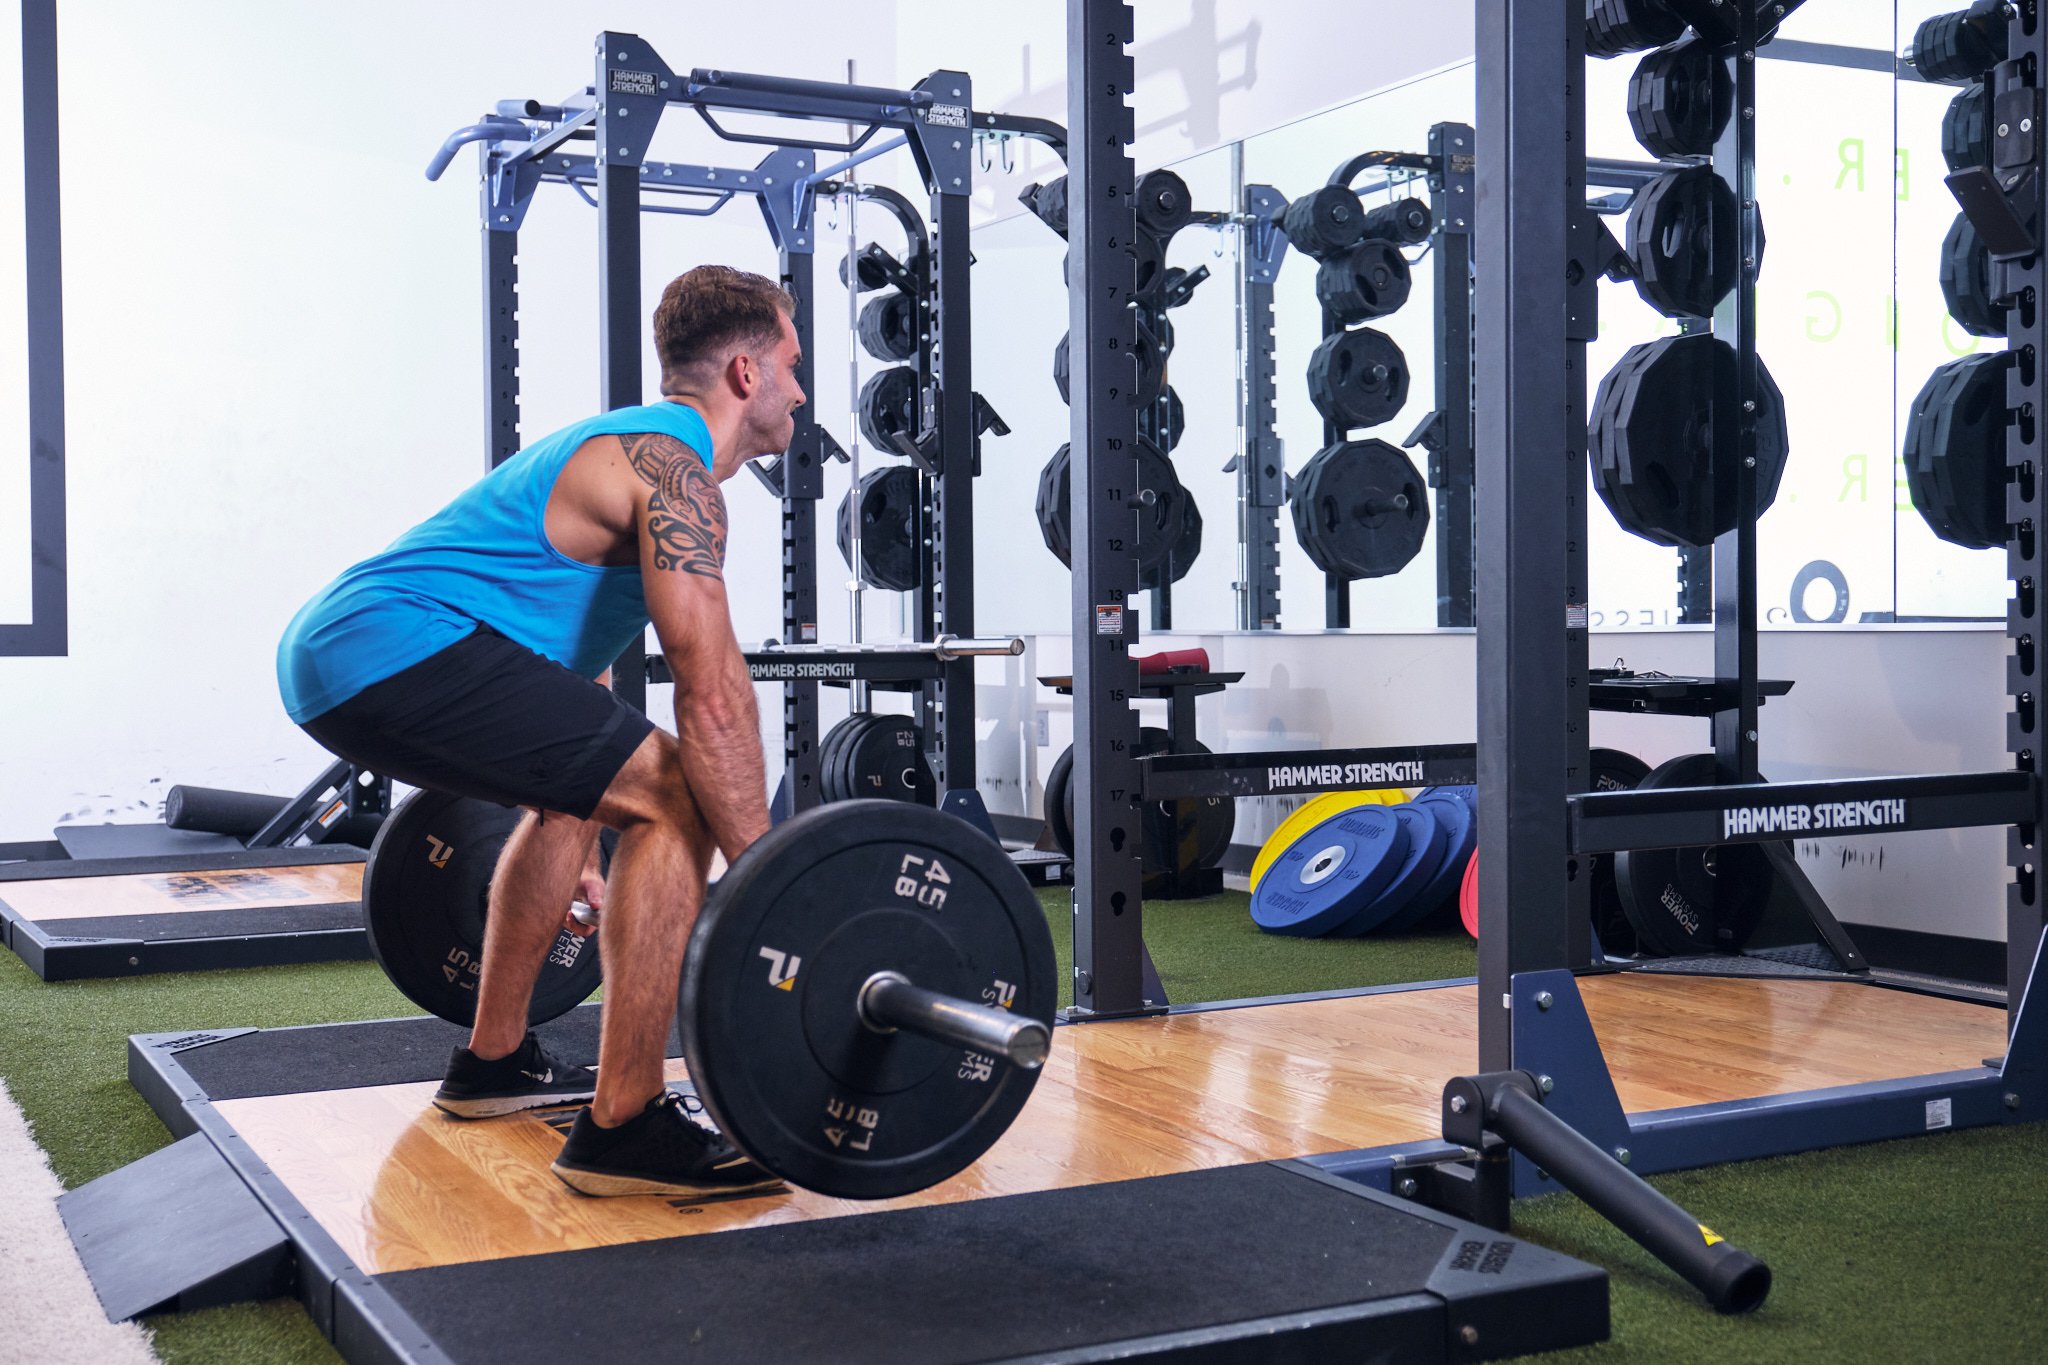
1. The Trap Bar: A Safer, Stronger Deadlift
The Benefit: The trap bar allows for a more upright torso. This significantly reduces stress on your lower back compared to a straight bar deadlift. It also lets most people lift more weight, building leg and back strength more efficiently.
How to Use It:
- For Heavy Deadlifts: If your goal is pure strength, use the trap bar. The biomechanics are superior for moving maximal weight safely.
- For Back Health: If conventional deadlifts cause any low-back discomfort, switch to the trap bar. It’s the smarter choice for long-term training.
- Start Using It Today: Walk up to the bar, stand inside the hexagon, and grip the handles. Your setup will feel more natural. Perform the movement exactly as you would a conventional deadlift: drive through your heels and stand up tall.
2. The Safety Squat Bar: Squat Without Shoulder Pain
The Benefit: The Safety Squat Bar (SSB) removes the need to force your arms into an uncomfortable back-shelf position. It eliminates shoulder and wrist pain from squatting. The design also forces your quads and core to work harder.
How to Use It:
- If Squats Hurt: This is your solution. Hoist the padded yoke onto your shoulders and hold the front handles. You can squat deep without any shoulder mobility requirements.
- For Quad Growth: The bar’s camber pushes you forward. You will feel your quads working harder than in a typical back squat. Use it for 3-5 sets of 6-10 reps to build leg size and strength.
- Start Today: Don’t be intimidated by the look. Get under the center of the pad, secure your grip on the handles, unrack it, and squat. It’s that simple.
3. The Swiss Bar: Press Pain-Free
The Benefit: The neutral grips (palms facing each other) place your shoulders and elbows in a much more natural and stable position for pressing. This drastically reduces joint strain during bench and overhead presses.
How to Use It:
- For Bench Press: Use the neutral-grip handles. Your shoulders will thank you. You can often push through strength plateaus because the movement is more biomechanically efficient.
- For Accessory Work: It’s also the best bar for skull crushers, rows, and curls if you have wrist or elbow sensitivity.
- Start Today: Next upper body day, replace your first barbell bench press exercise with the Swiss Bar. Use the same weight you normally would and note the difference in how your wrists feel.
Your Action Plan
- Identify Your Goal: Is it pain reduction? Breaking a plateau? Lifting heavier? Pick the bar that matches.
- Reduce the Weight: When trying any new bar, start with 20-30% less weight than you usually lift. Focus on feeling the new movement pattern.
- Ask for a Form Check: The O2 community is built on shared knowledge. If you see one of our PRSNL coaches, ask them for a quick tip. → Our trainers also offer 2 complementary training sessions to design a program for you that can ensure you’re on the right track.
Remember: These tools exist to make your training more effective and sustainable. So start using them to train smarter, not just harder!

.png)
-1.png)